Adding a tawk.to widget to Magento 2
[Desktop]
Installing the tawk.to Magento 2 extension lets you add your widget to your e-commerce store. Be there in real time to turn visitors into customers and customers to advocates.
Follow the steps below to add tawk.to to your Magento e-commerce store.
Please note: Magento ended its support and security maintenance for Magento Commerce 1 and Magento Open Source 1 in June 2020. We recommend upgrading to Magento 2.
Step 1
Manual installation
- Download the extension installation files here: https://github.com/tawk/tawk-magento-2/archive/master.zip
- Extract the tawk-magento-2-master folder from the package
- Copy the contents of tawk-magento-2-master folder to <magento-installation-root-folder>/app/code/Tawk/Widget folder of your website (create a new folder if necessary)
Standard installation
- Be sure Composer is installed. You can install it by entering in your website root directory and executing this command: curl -sS https://getcomposer.org/installer | php
- When Composer has been installed, add the GitHub repository to your Composer repositories by executing this command: php composer.phar config repositories.tawk vcs "https://github.com/tawk/tawk-magento-2.git"
- Install the extension by running the following command: php composer.phar require tawk/widget
Step 2
Once the extension is installed, you will need to execute the following command lines from your website root directory:
- php bin/magento module:enable Tawk_Widget
- php bin/magento setup:upgrade
- php bin/magento setup:static-content:deploy
- php bin/magento cache:clean
Done!
In the next section, you will learn how to use the newly installed tawk.to Magento 2 extension.

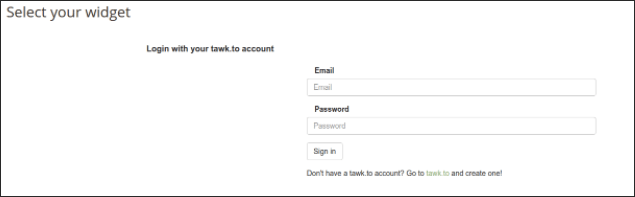
Log in to your tawk.to account here and all available widgets will be shown in the next view. If you don’t have an account yet, click on the link below the login form and create one.

Once you are logged in, you can select which store view you wish to link a widget to. Then select a site from your tawk.to Dashboard settings, choose a widget and click on the Save button.

Now go to your storefront and see the widget (here in the bottom right corner).
Here's an alternative way to use the tawk.to widget:
1. In the Magento Admin, go to Content > Blocks.
2. Click Add New Block and insert a Block Title, Identifier. Select a Store View and be sure the Block is enabled.
3. Click show the editor if it is not already shown and click the HTML icon.
4. Copy the widget code from the tawk.to Dashboard into the opened field.
5. Click Update and then Save Block.
6. Once the Block is ready, it's time to link a new widget to it. Go to Content > Widgets.
7. Click Add Widget and select CMS Static Block as Type.
8. Click Continue, set a Title and assign to a Store View.
9. In Layout Updates, select CMS Footer Links as Container and choose the pages on which you want it to be present.
10. Click Widget Options. Then select the Block you just created.
Save, refresh the caches and you're done!
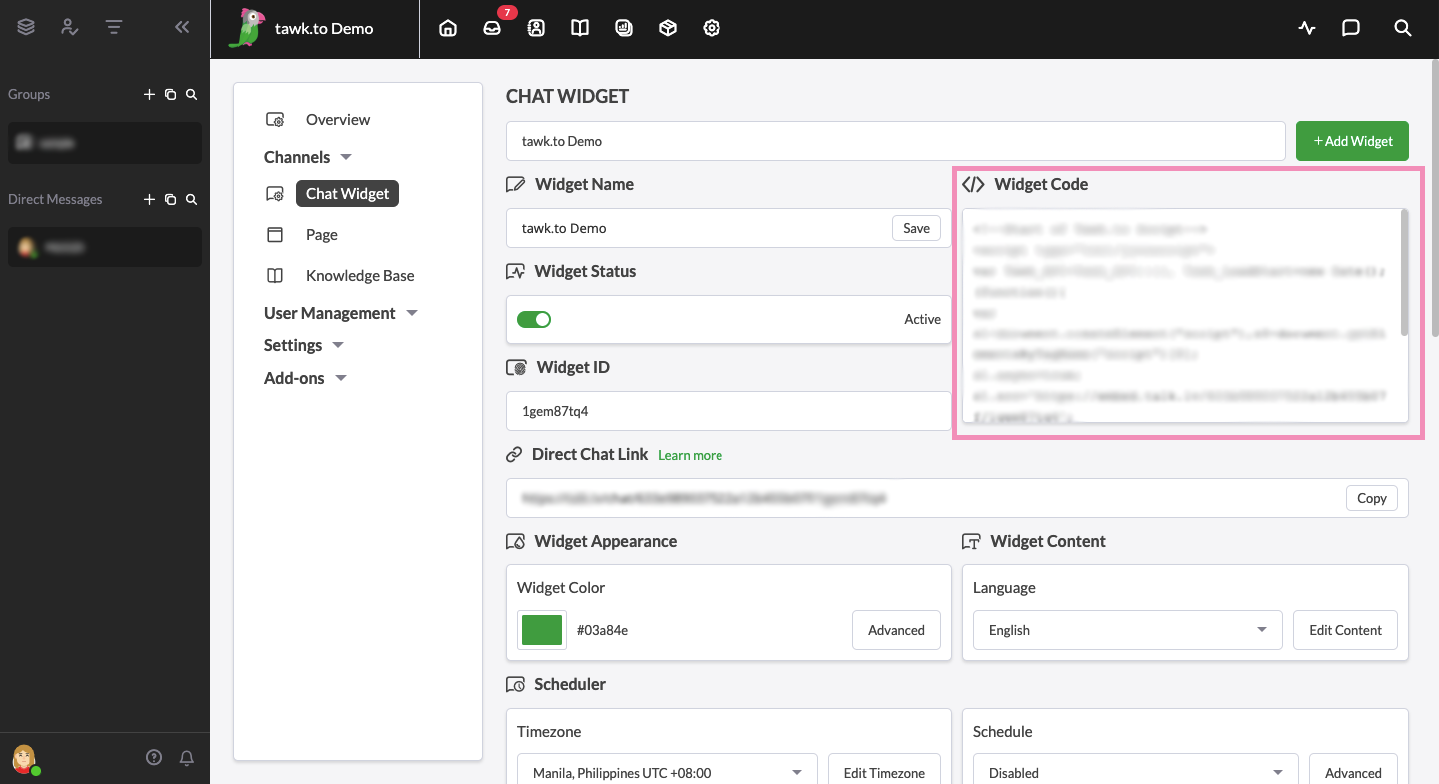
Here’s how to find the widget code in the tawk.to Dashboard:
Make your way to ⚙️Administration ➞ Channels ➞ Chat Widget.
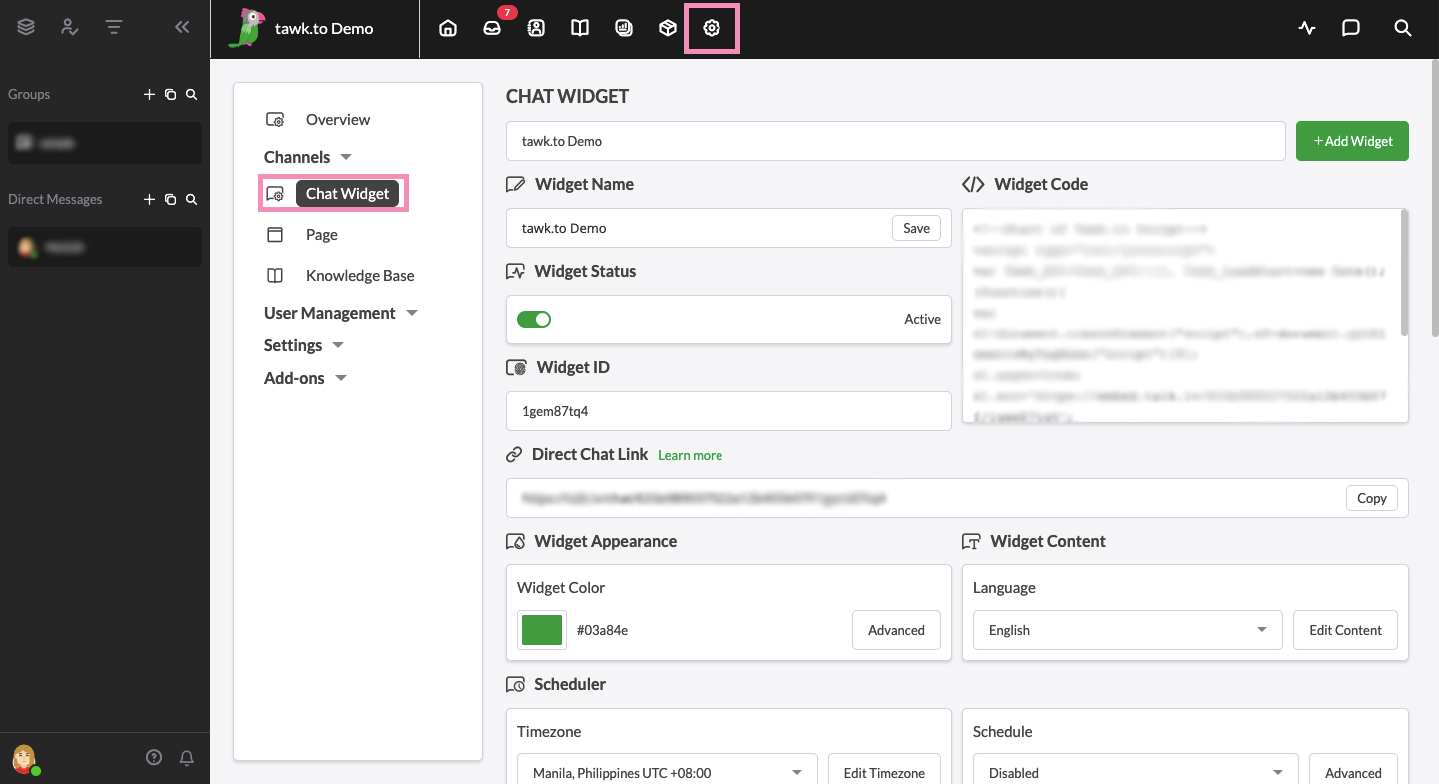
Then, click the snippet under Widget Code to copy it to your clipboard.
If you have other questions, don’t hesitate to reach out to our support team or schedule a call.