Creating a new tawk.to account
[Desktop]
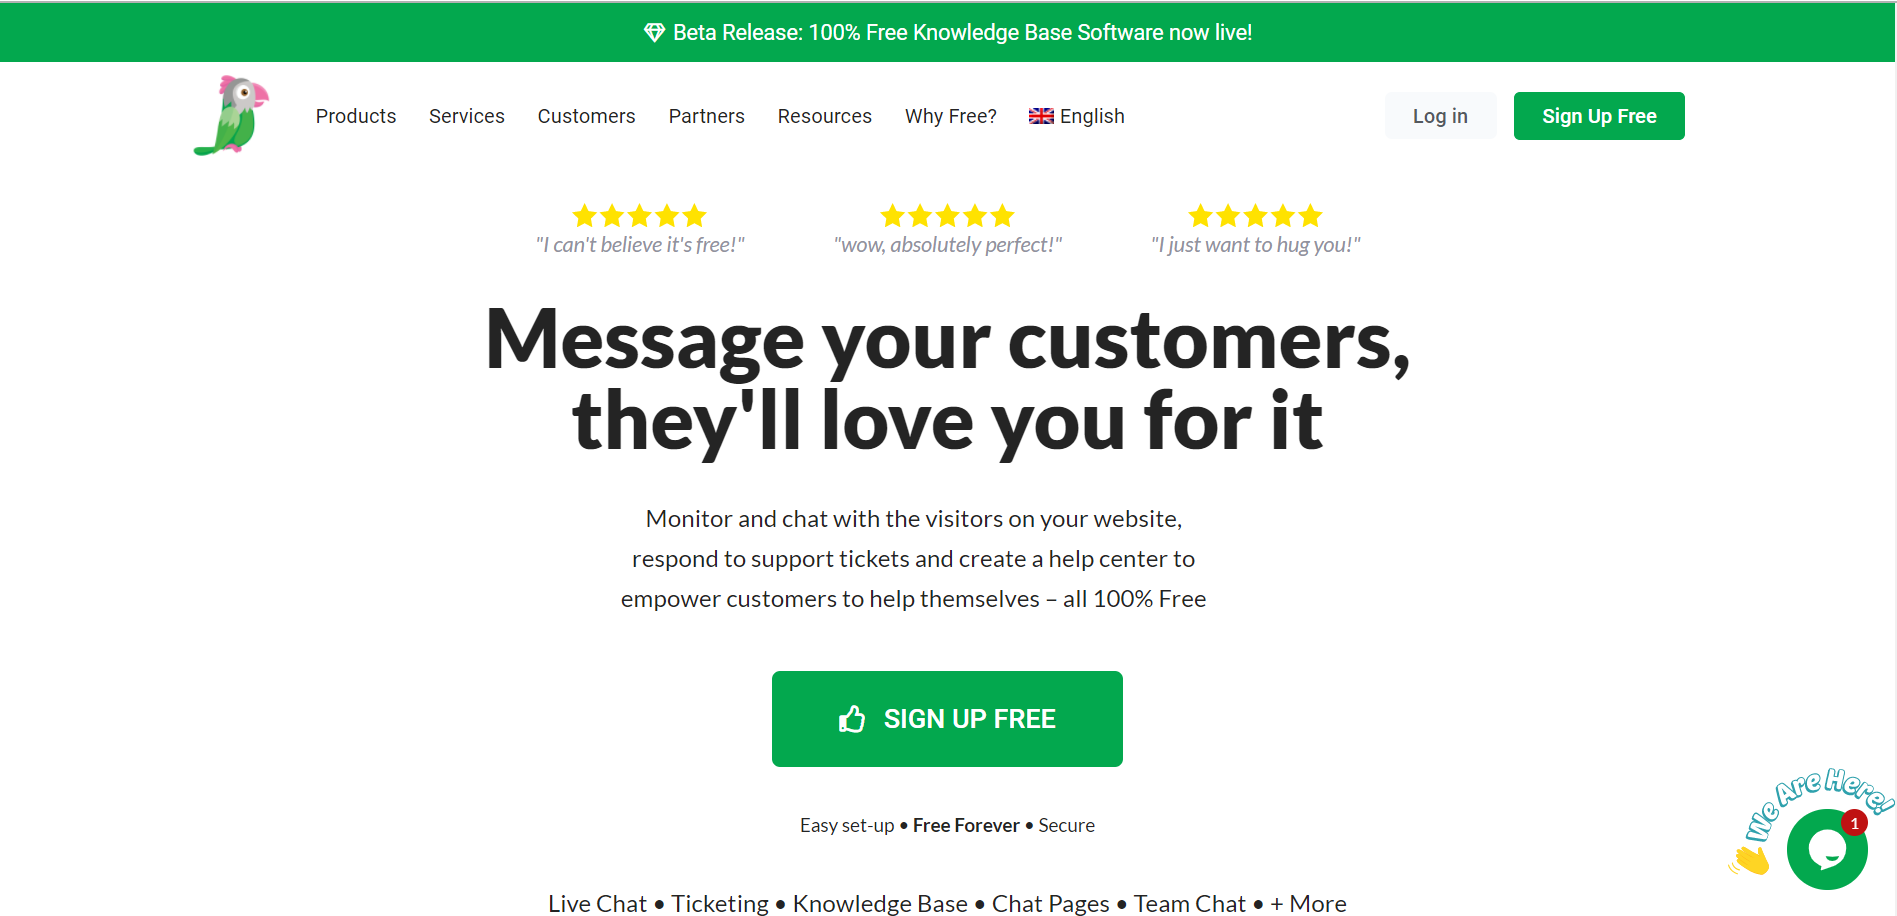
tawk.to will help you monitor and chat with the visitors on your website, respond to support tickets, organize contacts and create a help center to empower customers to help themselves.
In order to use the tawk.to software or to be added as an agent, you first need to create a tawk.to account. Signing up for a tawk.to account is 100% free and always will be.
NOTE: The instructions below can be completed from a browser or the tawk.to desktop apps.
To get started, head over to tawk.to and click Sign Up Free.
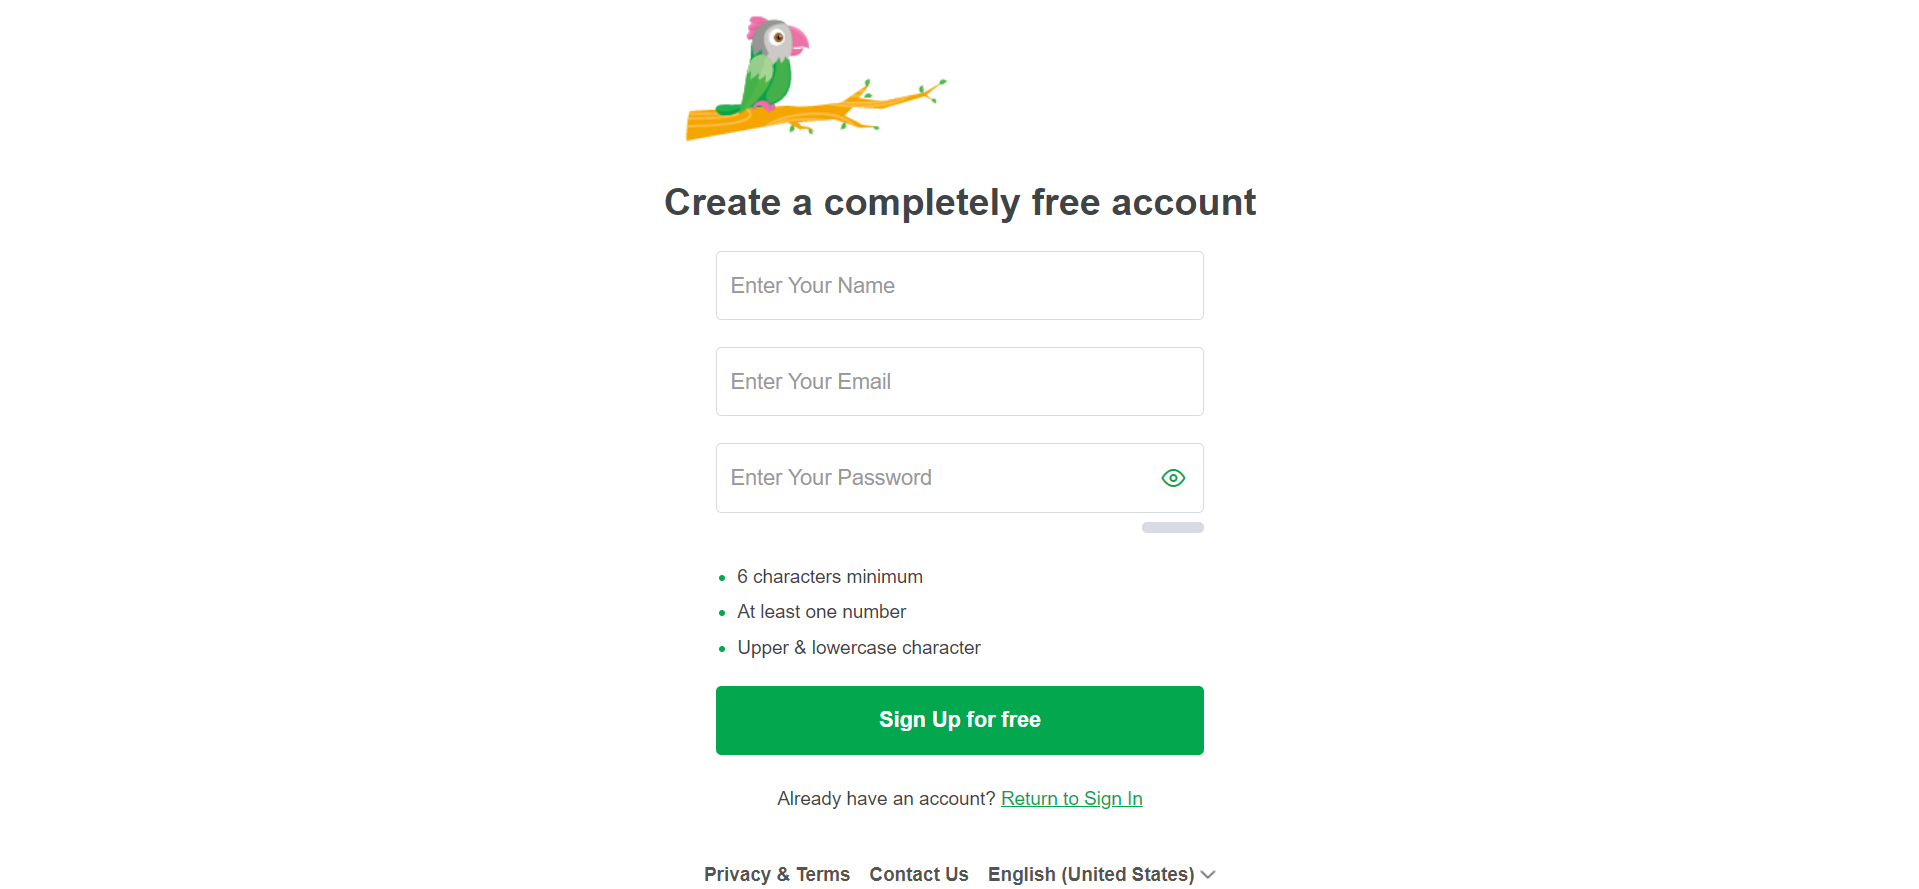
Next, fill out your details to create a new account and click the green button to enter the setup wizard.
After signing up, you will receive a confirmation email. Occasionally, our emails will land in your spam or junk folder, so don’t forget to check there as well. If you can’t find the email, please reach out to our team in chat (they are available 24x7) and they will help you get started.
To add the widget to a website, continue to follow the steps in the setup wizard by selecting a language and choosing Next: Create Property.
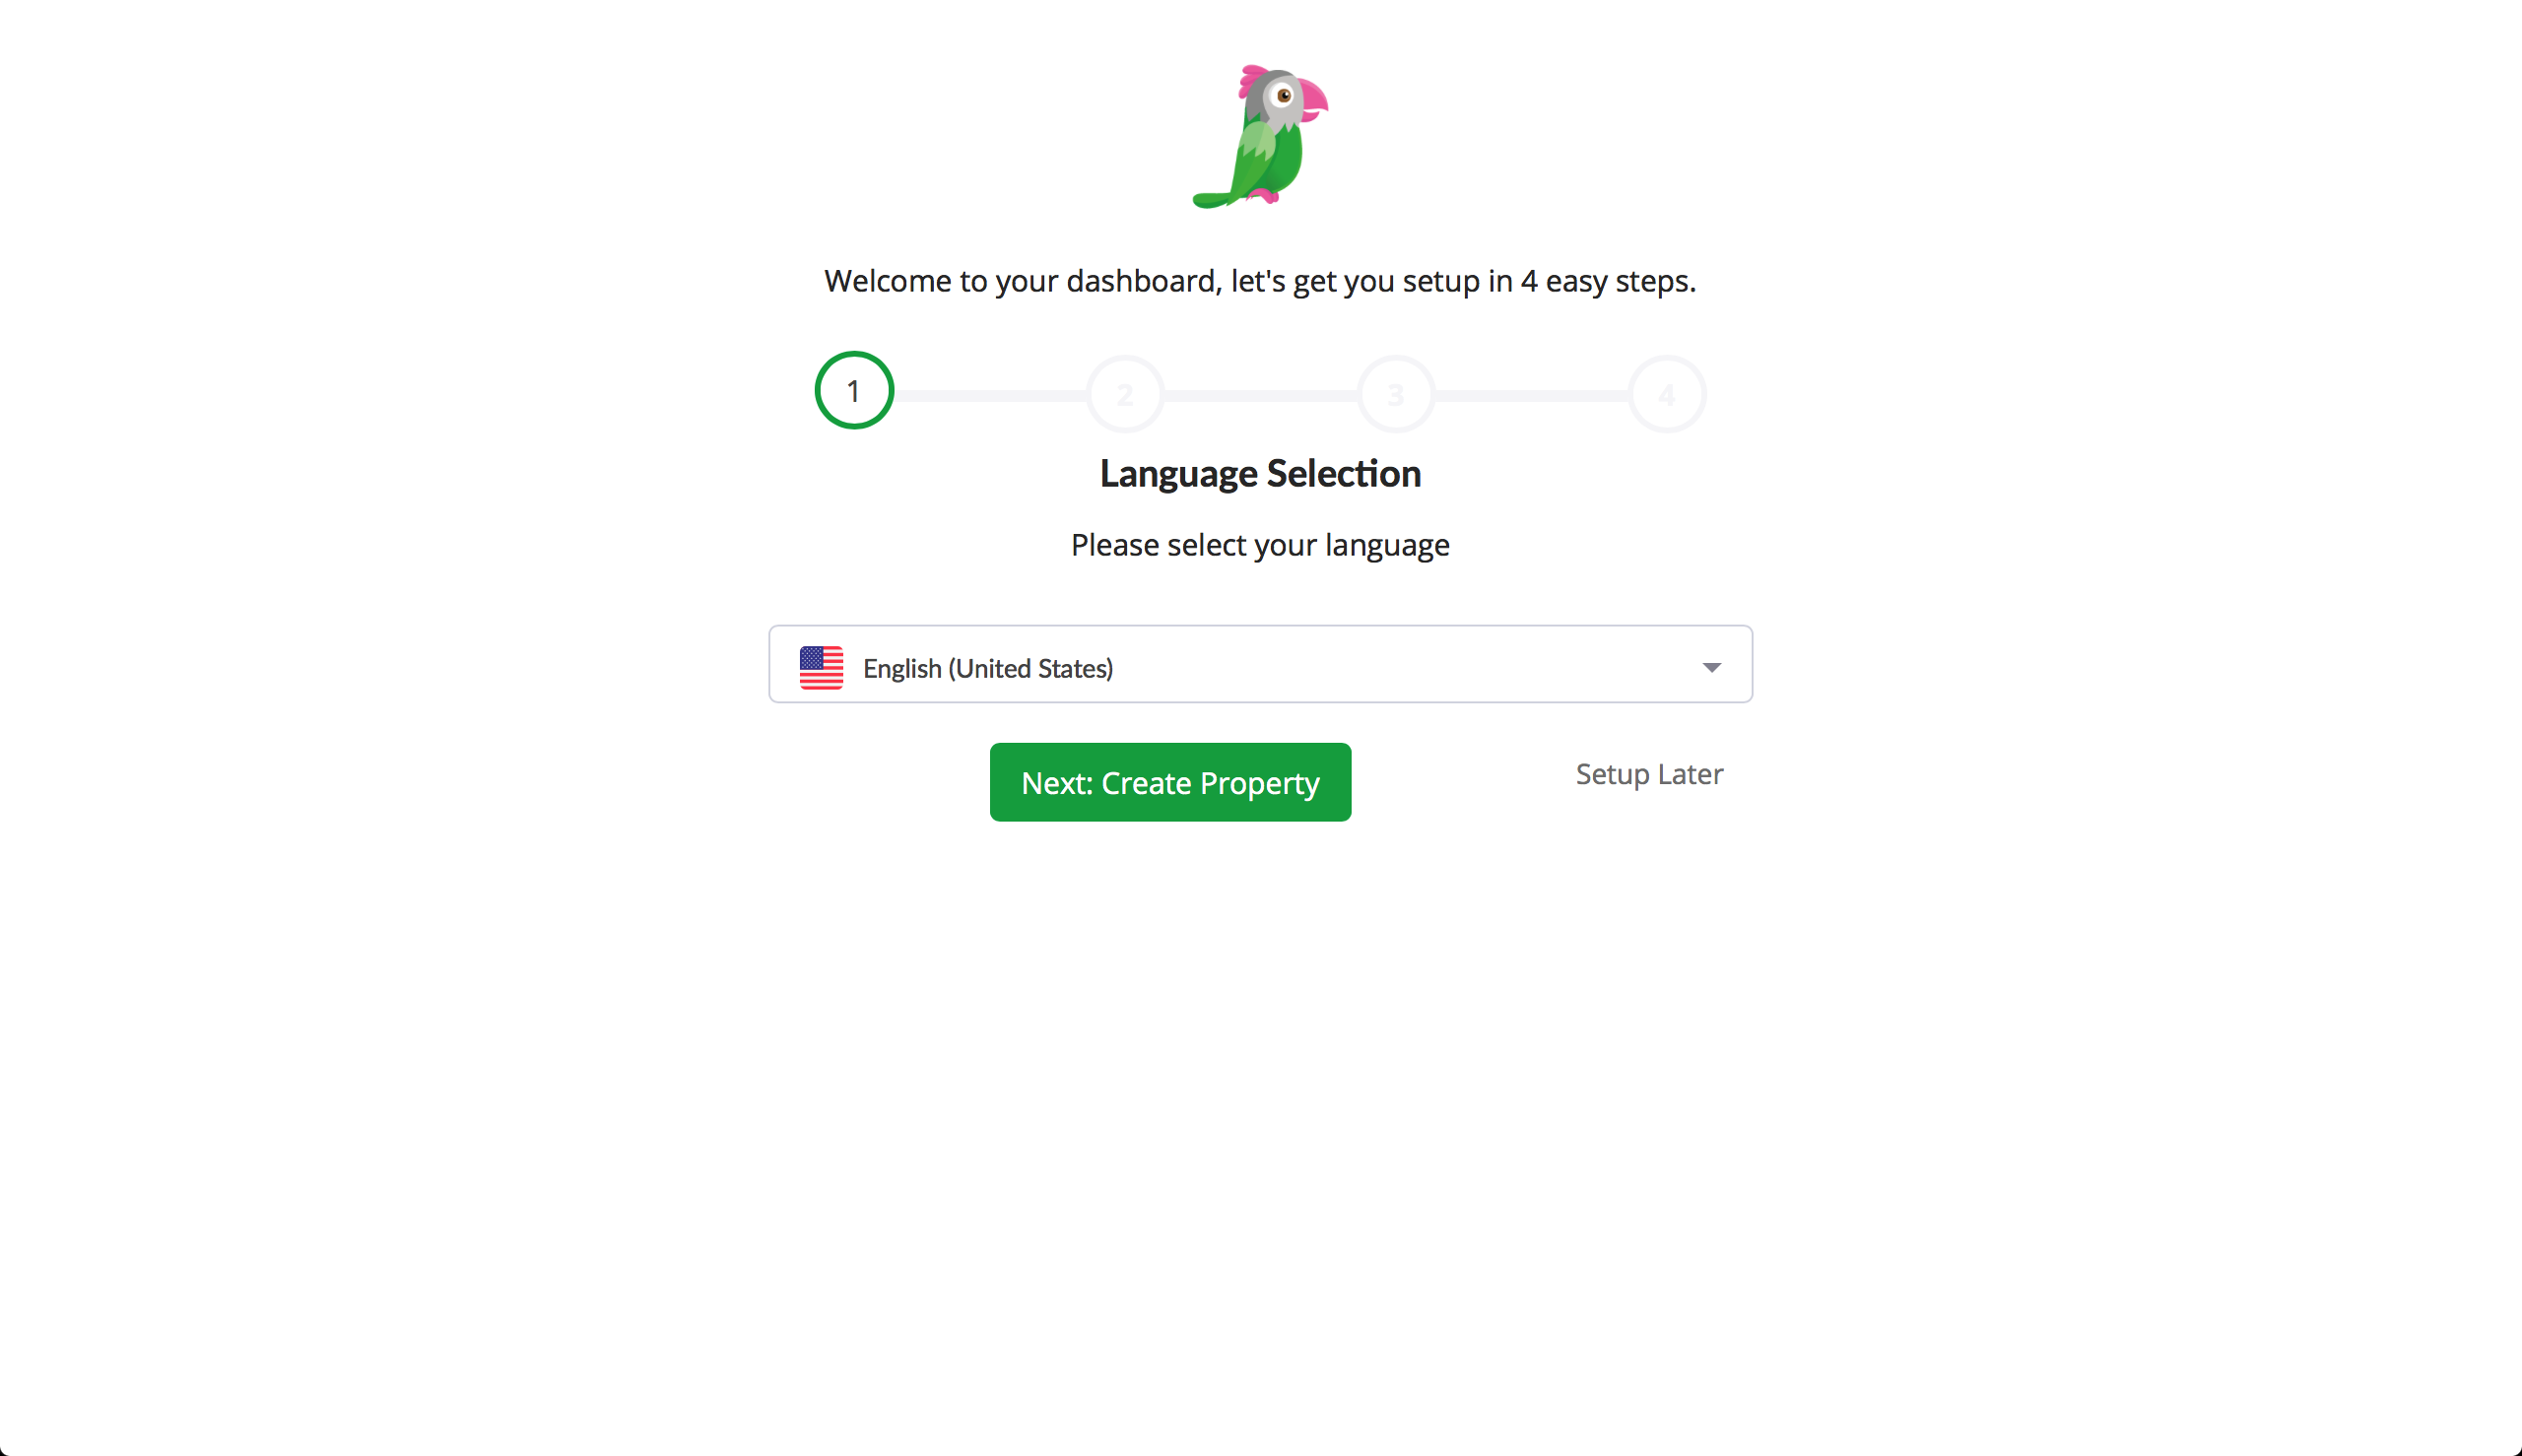
For experienced users, the Setup Later button allows you to skip these steps and head straight into the Dashboard.
Now that your widget is set up, you can invite others to help you respond to chats and manage your account. Each team member you invite to join your tawk.to property will receive an email notification.
Learn more about inviting team members to your site here: How to invite and manage agents
If they already have a tawk.to account, they will be prompted to log in to their tawk.to account to accept the invitation.
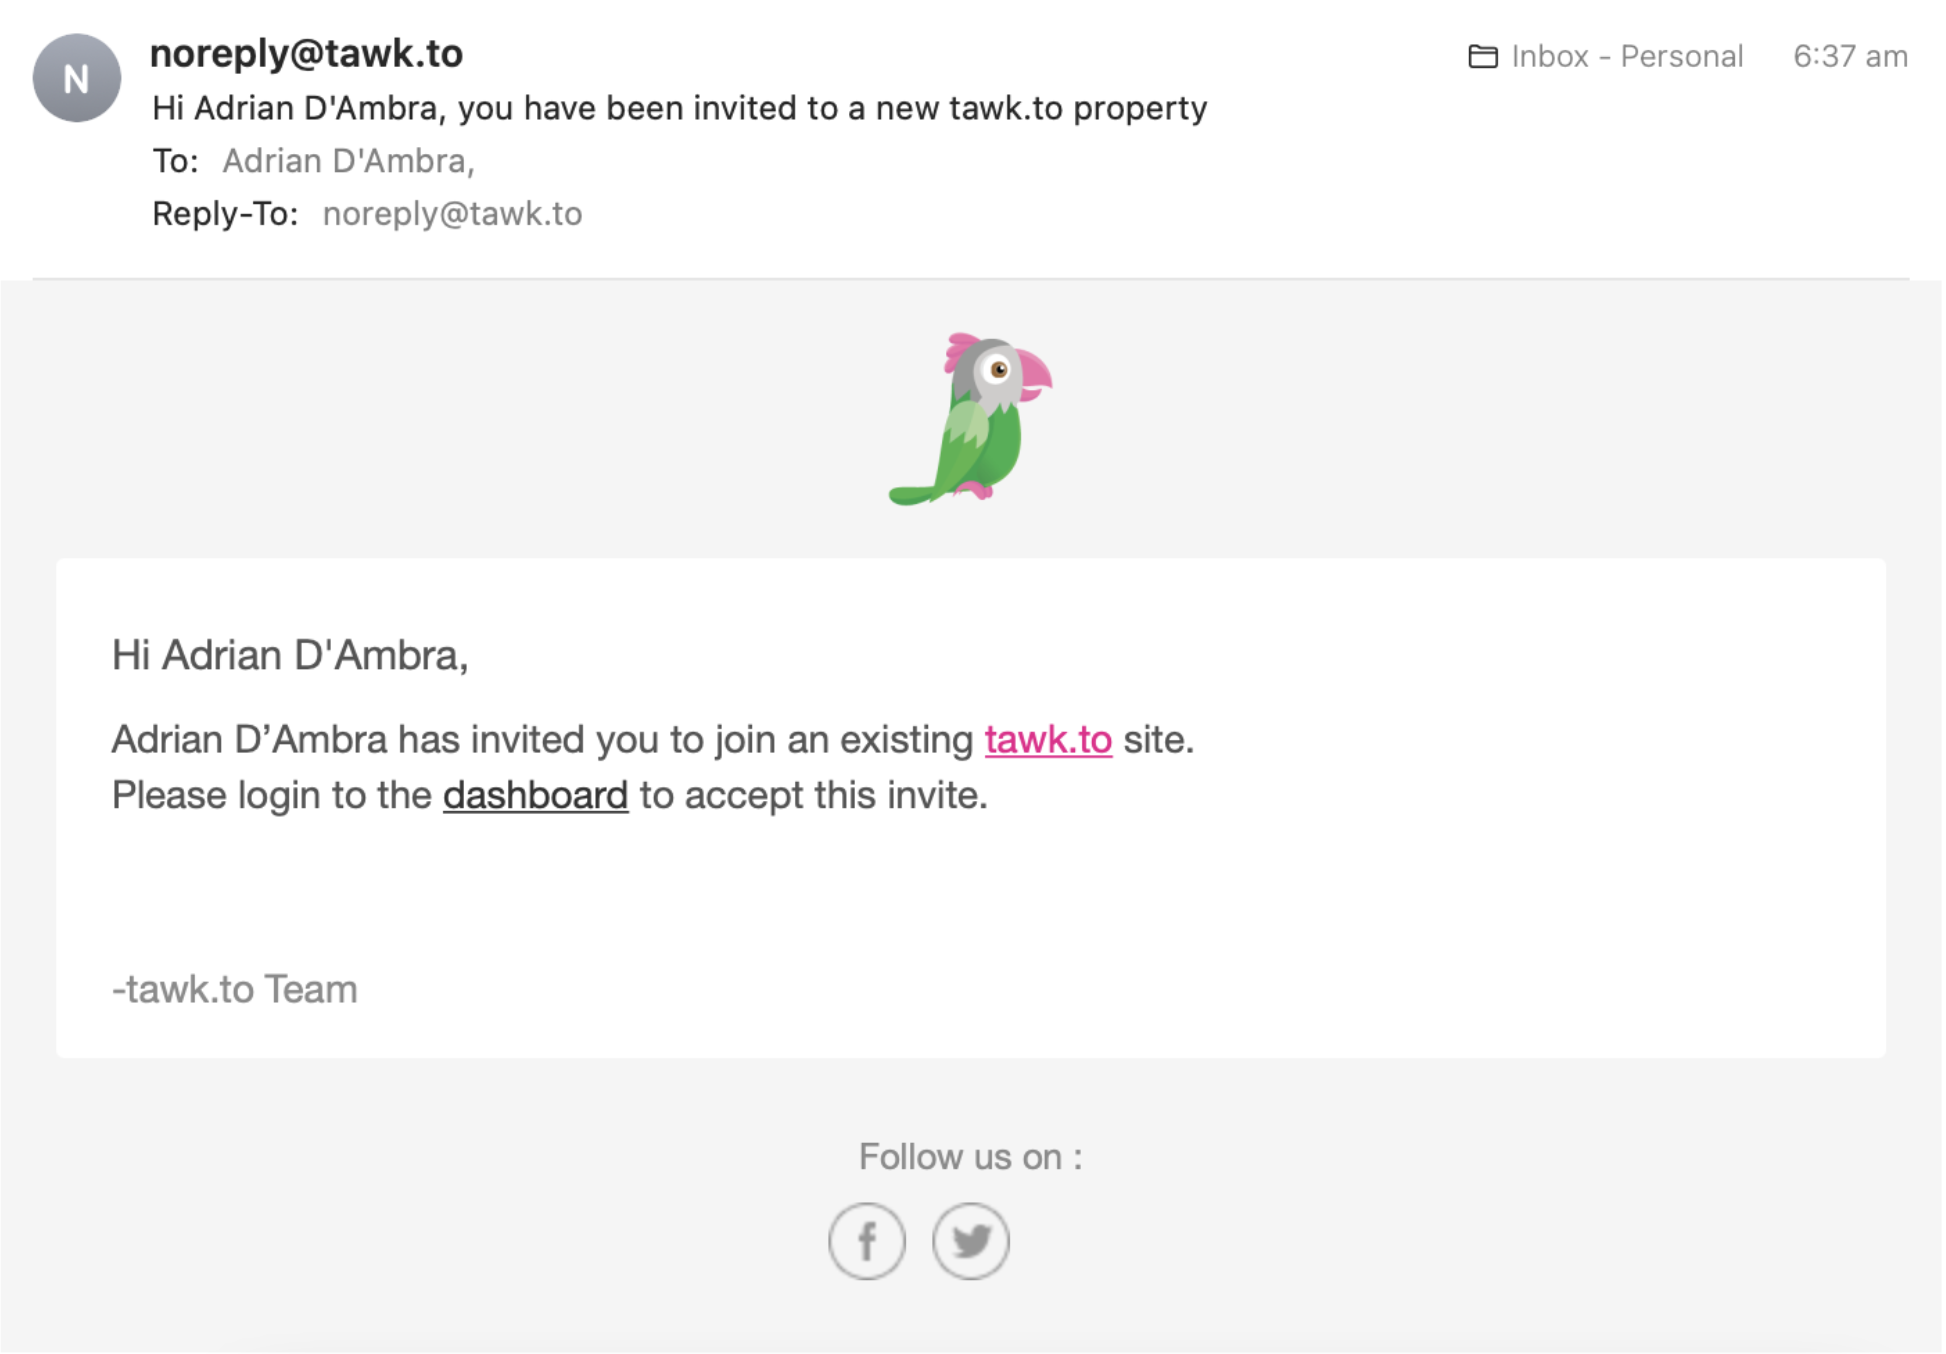
If they are new to tawk.to, they will receive an email inviting them to create a free account.

That's it! You're all set up and ready to go.
Use this checklist as a guide for setting up your tawk.to Dashboard:
https://help.tawk.to/article/a-checklist-to-help-you-set-up-your-tawkto-dashboard
Get started with messaging:
https://www.tawk.to/academy/business-messaging/
Learn how to respond to a chat -
https://www.tawk.to/academy/dashboard-training/
Set up your Knowledge Base -
https://www.tawk.to/academy/knowledge-base/
Need help creating your tawk.to account? Reach out to our support team or schedule a call.